


967
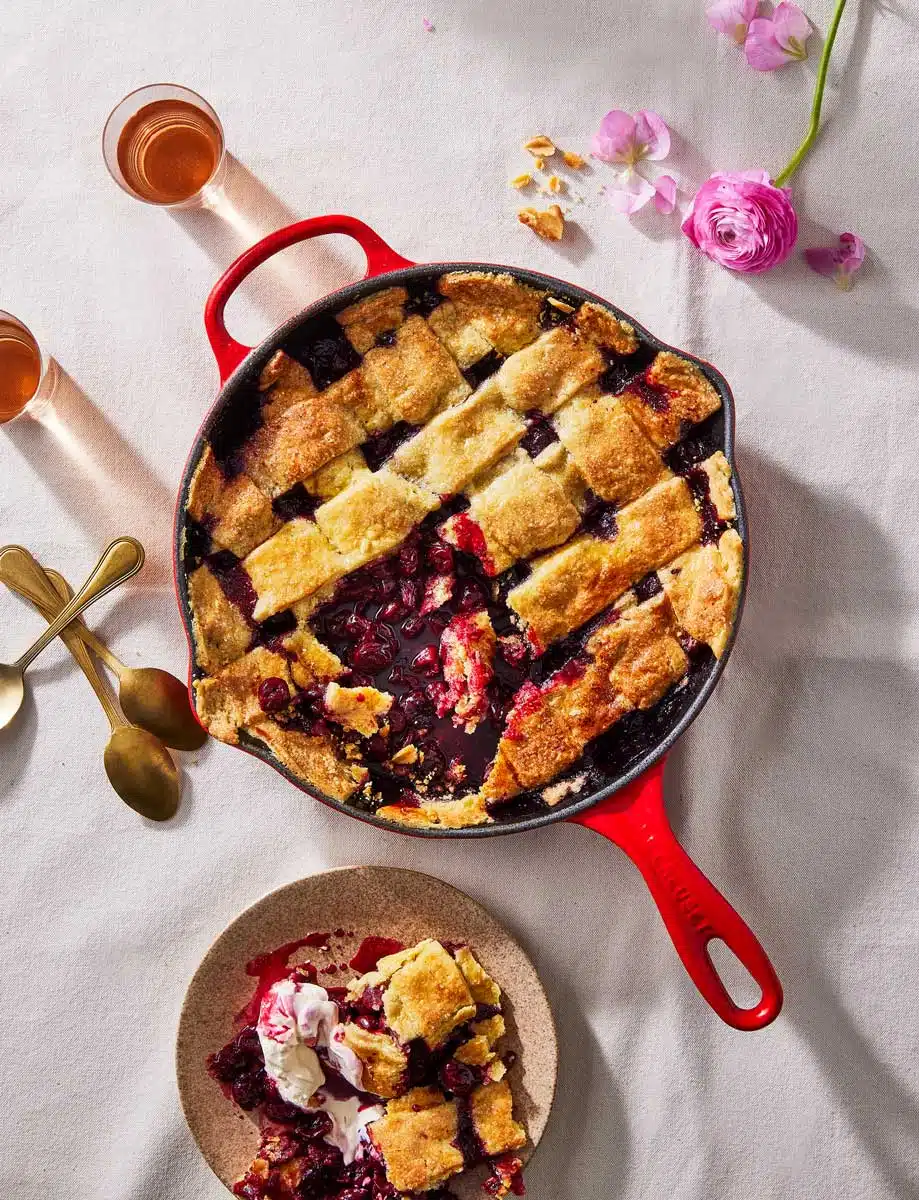
Cherry Pie
Serves: 6-8 Prep Time:
Nutrition facts: 200 calories 20 grams fat
Rating: 5.0/5 ( 1 voted )
Ingredients
For the dough:
- 250 g flour, sifted
- 100 g icing sugar
- 1 pinch of fine salt
- 200 g soft, salted butter, diced
- 2 egg yolks
For the filling:
- 1 kg frozen cherries
- 100 g brown sugar, plus extra for sprinkling
- pulp of a vanilla pod
- Grated lemon juice
- 1 egg whisked with a little milk
- Cream or vanilla ice cream, to serve
Instructions
- For the dough, first sift the flour, icing sugar and salt into a large bowl.
- Then knead the butter and dry ingredients with your fingers until crumbly.
- Add the egg yolks and mix thoroughly to form a smooth dough. Wrap in cling film and place in the fridge for 30 minutes.
- After the chilling time, roll out the dough from the fridge between two sheets of baking paper to a thickness of approx. 5 mm and then place in the fridge for a further 20 minutes. Now cut the pastry strips to a size of 28 cm x 2 cm for the grid on the top of the cake. Chill these in the fridge for a further 30 minutes. It is important to chill the dough between steps to make it easier to handle and bake.
- For the filling, place the cherries in a small cast iron pan with the sugar, vanilla and lemon juice and zest and bring to the boil.
- Once the cherries are soft, remove them from the cooking liquid with a slotted spoon and set aside.
- Reduce the remaining liquid to a syrupy consistency by simmering further. Then add the cherries back to the liquid and turn off the heat.
- Now leave the pans to cool completely. This is important when placing the batter on top of the cake as the batter will melt if the pan is still warm.
- Once the cherries and the pan have cooled, place the cooled pastry strips over the cherries like a grid. Brush the pastry with beaten egg and sprinkle with brown sugar and place in the fridge again for 5 minutes.
- Bake at 180 °C for 20-30 minutes until the pastry is golden and the cherries are bubbling.
- Serve warm with whipped cream or vanilla ice cream.
Recipe and photo: Copyright image/recipe © 2021 Le Creuset; www.lecreuset.com
Did You Try This Recipe?
Show us & tag us on Instagram at @kachenmagazine